How to Download, Install and Verify PostgreSQL for Windows
If you're planning to start your journey into database management and want to use PostgreSQL, here's how you can download and choose the right version for your machine! Now if you're new to PostgreSQL, it is a database manager with multi-version concurrency control to easily manage the concurrency (MVCC). If you run a transaction on PostgreSQL, it gives a snapshot of the database, which allows each transaction to make changes to the database without affecting the other transaction. PostgreSQL has three levels of transaction isolation.
- Read committed
- Repeatable Read
- Serializable
Now just follow these steps to help you find and download the correct version of Postgres for your computer:
- Find the right version of Postgres on the Official Website for Postgres for your current windows version (64bit or 32bit platform)
- Once the setup file has been downloaded, double-click on the file. It will run the Installation Wizard for PostgreSQL.

- You can specify where you want to install the PostgreSQL on the Installation Directory

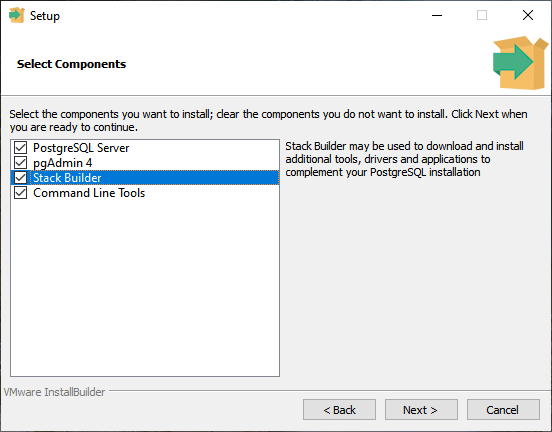
- Then, you can choose the component you want to install on your workstation. You can choose any of the following but we usually choose all of it when we are going to install PostgreSQL for the first time
- PostgreSQL Server
- pgAdmin4: It is a graphical interface that is used to manage the PostgreSQL database
- Stack builder: The stack builder will be used to download and install drivers and additional tools
- Command-line tools like pg_bench, pg_restore, pg_basebackup, libpq, pg_dump, and pg_restore
- The default location for the data directory file is C:\PostgreSQL Data unless you put it somewhere specific, You can add and install additional components and drivers if you want to
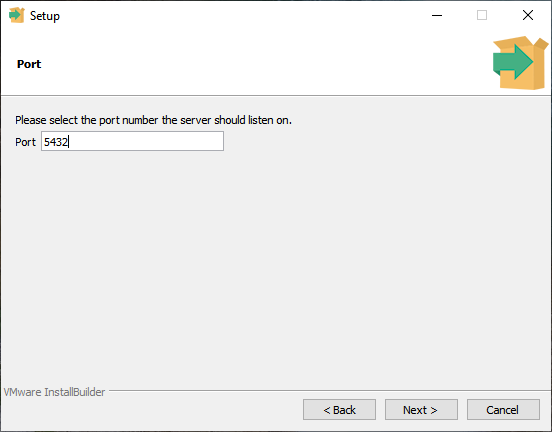
- By default, PostgreSQL servers listen on the port number 5432, but you can input a specific port number if you already have one, make sure any other application must not use the port you specify in the Port textbox, and it must allow the incoming and outgoing connections.
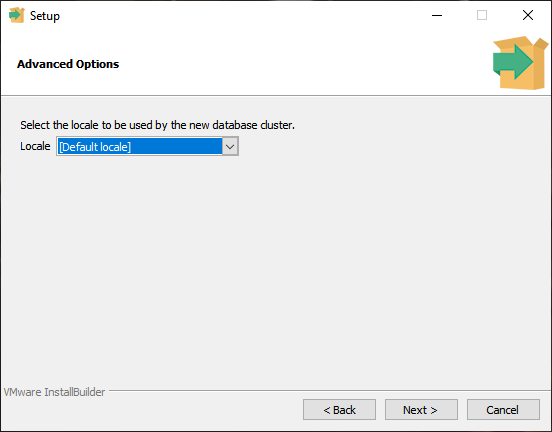
- You can choose the locale that you want to use in the database on the advance option screen. But for starters, you may choose the default locale
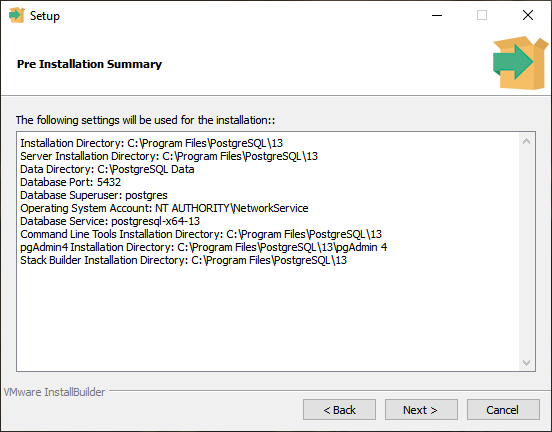
- Next up the screen will prompt you to the settings used for installing PostgreSQL then, just tap NEXT and the installation will promptly begin.
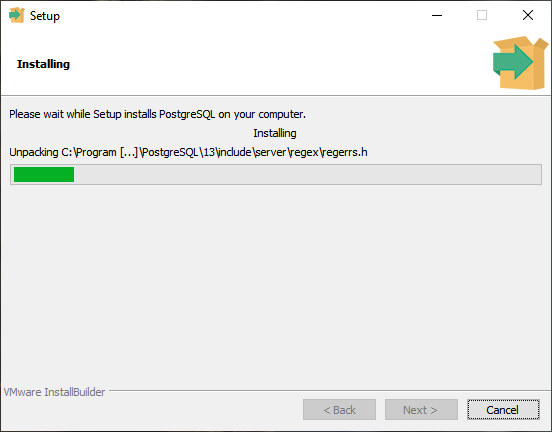
- And there you have it! The PostgreSQL server has been installed successfully. You can add and install additional components and drivers if you want to. Click on Finish to complete the installation; all left is to verify if the PostgreSQL is installed properly and working.
Verifying the PostgreSQL Installation
Now that we are finished installing PostgreSQL on your computer, all that’s left to do is verify and check if the installation worked. There are different ways to verify the installation like connecting to the database server with the help of applications on the client like pgAdmin or psql. Follow these steps to check if the installation worked:
- Search for the psql shell in the windows search bar and open it.
- Enter all the necessary information like the server, database, port, username, and
password and press Enter.
- Use the command SELECT version(); you will see the following result:
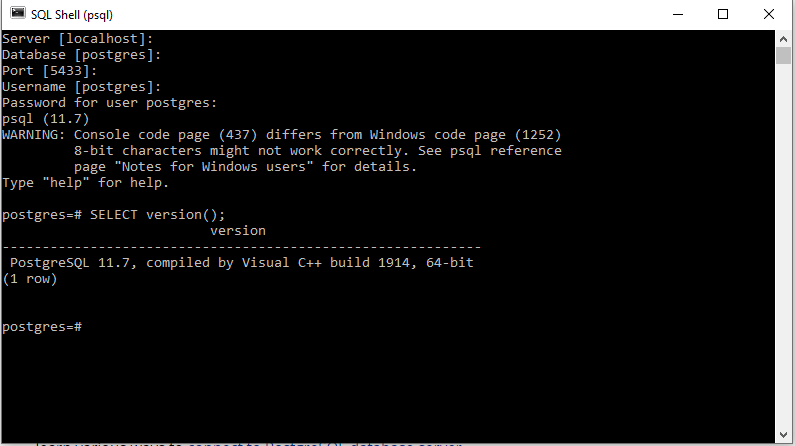
And with that, the installation is a success and it’s up and running!
Related Articles:
MongoDB vs PostgreSQL: A Comparison
Installing PostgreSQL on a MacOS
Analyzing the Difference Between PostgreSQL vs. MySQL